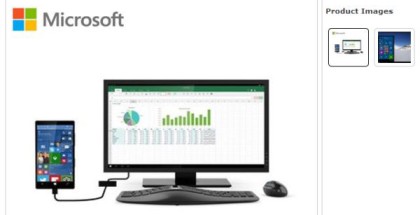
How to use Remote Desktop in Windows 10 Mobile & Continuum
Connect to a remote PC from your Windows 10 phone
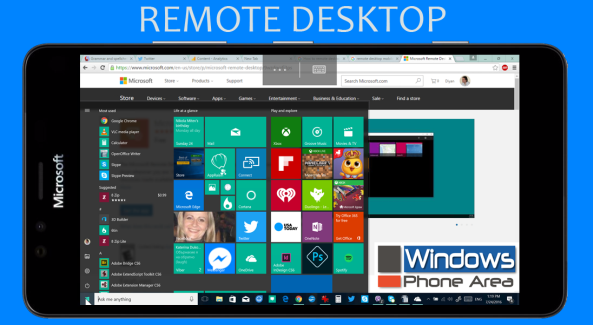
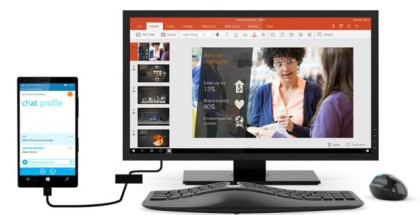
Last year, Microsoft introduced a new universal ‘Remote Desktop’ app that works across all Windows 10 devices and allows you to connect to a remote PC from anywhere on the go. The best thing is that the Remote Desktop app works perfectly on Windows 10 Mobile and it even supports Continuum, which means you can access a remote PC from the phone while connected to a mouse, keyboard and a monitor in Continuum-mode.
Here is how you can set up the Remote Desktop app in Windows 10 Mobile (and Windows 10):
1. Allow remote access to your computer
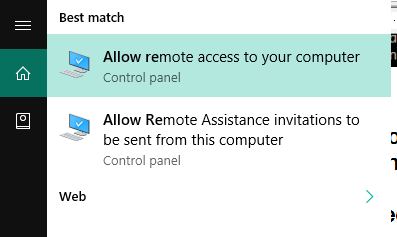
The feature is disabled by default. Type ‘allow remote‘ in the search bar.
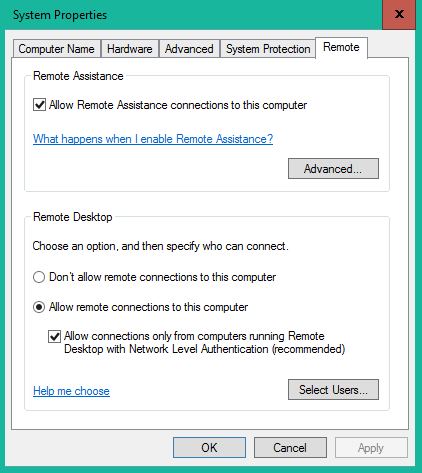
System Properties will open to the Remote tab. Select ‘Allow remote connections to this PC’ and tick the box to enable connections only from PCs running Remote Desktop with Network Level Authentication.
2. Find your IP Address
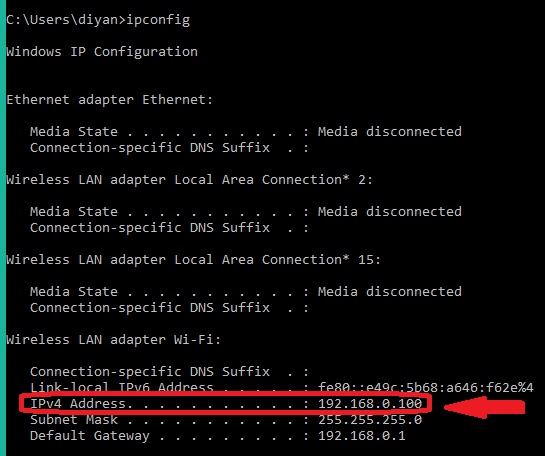
Type ‘cmd‘ in the Windows/Cortana search bar to start the ‘Command Prompt’. Now type ‘ipconfig‘ and press Enter. You will see the IP address on the screen. In this case: 192.168.0.100
3. Install the Remote Desktop app
Microsoft has two Remote Desktop apps for Windows 10 – an official version and a preview with all latest features available for testing before the global public roll out.
Remote Desktop | Remote Desktop (Preview)
4. Open the app on your Windows 10 smartphone
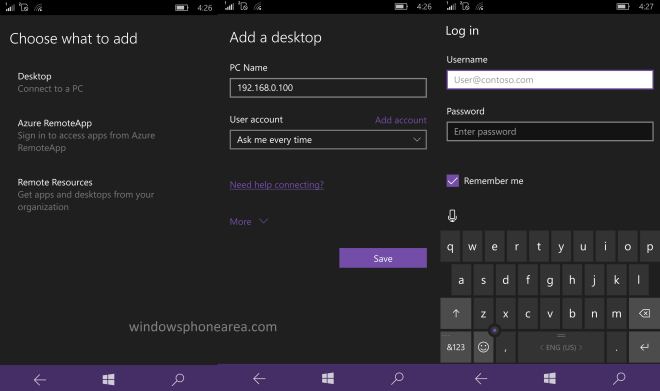
Tap ‘Add’ and click on ‘Desktop’ to connect to your PC. Type the IP address instead of the PC name and tap ‘Save’. Click on the new connection you’ve just created, enter your PC’s log-in credentials – user name and password – select ‘Remember me’ and tap ‘Connect’.
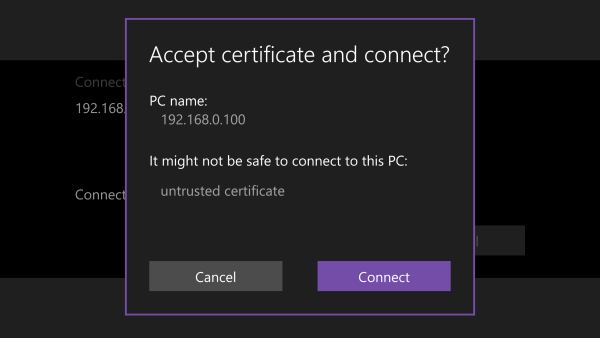
Accept the certificate and ‘connect’. Done! You can now use your Windows PC from your Windows phone.
